Difficulty: Medium · Required tools: Python, OpenCV, YuNet · Updated: October 2026
Overview
Culling is the pass where a shoot goes from hundreds of frames to the few you would actually deliver. Most of that pass is not taste. It is rejection: this one is soft, this one is a burst duplicate, this one clipped the sky to white, this face is mush. Those checks can run on your laptop, on the JPEGs you already have, without sending the take to anyone else's server.
This tutorial builds that first pass as one Python script. It resizes each photo, scores sharpness and exposure, groups near-duplicates, and — when it finds a face — judges the face rather than the blurred background. It writes cull.csv and copies the keepers into selects/. Your originals stay where they are.
The honest goal: a shortlist you can explain. The script does not know that you prefer the frame where someone is laughing. It does not learn your style, and it does not open RAW files. It removes the frames that fail a technical test so the taste pass is a pile of dozens, not a pile of thousands.
Paid culling apps are a polished version of this same idea, often with a closed-eye model and a huge preset library on top. Building the plain version first tells you what you are paying for later. It also means a client folder of family photos never has to leave the machine.
Who This Is Useful For
You will get a working tool out of this if you already leave a shoot with a folder of JPEGs and then lose an evening clicking through them.
Skip this if you need a finished Lightroom plugin, a model trained on your past picks, or a workflow that starts from RAW. Those are real products. This is the inspectable first pass underneath them.
What You Will Learn
What You Need
Python 3.10 or newer, and a folder of .jpg, .jpeg, .png, or .webp files. Eight gigabytes of RAM is enough, because every measurement runs on a preview about 800 pixels wide, not on a 40-megapixel original.
From the folder where you want the project, install the libraries and download the face model once. The model file is about 230KB. After this, the script does not use the network, and the photos are only read from disk.
bash
python3 -m venv .venv
source .venv/bin/activate
pip install opencv-python Pillow imagehash numpy
curl -L -o face_detection_yunet_2026may.onnx \
  https://github.com/opencv/opencv_zoo/raw/main/models/face_detection_yunet/face_detection_yunet_2026may.onnx
mkdir -p photos
On Windows, activate the virtual environment with .venv\Scripts\activate instead of source.
opencv-python 5 is what pip installed when this script was run (October 2026), and the 2026may file is the YuNet export with a flexible input size, which is what OpenCV 5 expects. If FaceDetectorYN throws a shape error on an older OpenCV 4 install, download face_detection_yunet_2023mar.onnx from the same OpenCV zoo folder and point YUNET at that file instead. Both files were checked on OpenCV 5: the May 2026 model loaded faster, and both found the face in a standard test portrait.
Build the Culler
Create photo_culler.py next to the .onnx file and paste the script below. Then drop at least a few dozen photos into photos/ and run python photo_culler.py.
The constants at the top are the whole "model of taste" this tool has. BLUR_MIN is the softness cutoff. CLIP_MAX is how much of the frame may be crushed black or blown white. DUP_DISTANCE is how similar two frames must be before they count as the same moment. KEEP_LIMIT is how many survivors get copied out.
python
#!/usr/bin/env python3
"""Rank a folder of photos. Nothing is uploaded. Originals are never deleted."""
import csv
import shutil
from pathlib import Pathimport cv2
import imagehash
import numpy as np
from PIL import Image
PHOTO_DIR = Path("photos")
SELECTS = Path("selects")
YUNET = Path("face_detection_yunet_2026may.onnx")
PREVIEW_WIDTH = 800
BLUR_MIN = 30.0
CLIP_MAX = 0.35
DUP_DISTANCE = 8
KEEP_LIMIT = 50
EXTS = {".jpg", ".jpeg", ".png", ".webp"}
def preview(path, width=PREVIEW_WIDTH):
data = np.fromfile(path, dtype=np.uint8)
img = cv2.imdecode(data, cv2.IMREAD_COLOR)
if img is None:
return None
h, w = img.shape[:2]
if w > width:
img = cv2.resize(img, (width, max(1, int(h * width / w))), interpolation=cv2.INTER_AREA)
return img
def blur_score(img):
gray = cv2.cvtColor(img, cv2.COLOR_BGR2GRAY)
return float(cv2.Laplacian(gray, cv2.CV_64F).var())
def exposure_clip(img):
gray = cv2.cvtColor(img, cv2.COLOR_BGR2GRAY)
under = float(np.mean(gray < 12))
over = float(np.mean(gray > 243))
return under + over
def make_detector(img, model_path):
h, w = img.shape[:2]
det = cv2.FaceDetectorYN.create(str(model_path), "", (w, h), 0.8, 0.3, 5000)
det.setInputSize((w, h))
return det
def face_sharpness(img, det):
_, faces = det.detect(img)
if faces is None or len(faces) == 0:
return 0, None
h, w = img.shape[:2]
scores = []
for f in faces:
x, y, fw, fh = (int(v) for v in f[:4])
x0, y0 = max(0, x), max(0, y)
crop = img[y0:min(h, y0 + fh), x0:min(w, x0 + fw)]
if crop.size == 0:
continue
scores.append(blur_score(crop))
if not scores:
return 0, None
return len(scores), float(np.mean(scores))
def main():
photos = sorted(p for p in PHOTO_DIR.iterdir() if p.suffix.lower() in EXTS)
if not photos:
raise SystemExit(f"No photos in {PHOTO_DIR.resolve()}")
if not YUNET.exists():
raise SystemExit(
"Missing face_detection_yunet_2026may.onnx. Download it once, then this script runs offline."
)
rows = []
det = None
for path in photos:
img = preview(path)
if img is None:
print(f"skip unreadable {path.name}")
continue
if det is None:
det = make_detector(img, YUNET)
else:
det.setInputSize((img.shape[1], img.shape[0]))
n_faces, face_sharp = face_sharpness(img, det)
b = blur_score(img)
clip = exposure_clip(img)
digest = imagehash.phash(Image.open(path).convert("RGB"))
technical = b if face_sharp is None else (0.5 b + 0.5 face_sharp)
if clip > CLIP_MAX:
technical *= 0.25
rows.append({
"path": path,
"filename": path.name,
"blur": round(b, 1),
"clip": round(clip, 3),
"faces": n_faces,
"face_sharp": None if face_sharp is None else round(face_sharp, 1),
"hash": digest,
"score": round(technical, 1),
"duplicate_of": "",
"keep": False,
})
clusters = []
for row in rows:
placed = False
for cluster in clusters:
if (cluster[0]["hash"] - row["hash"]) <= DUP_DISTANCE:
cluster.append(row)
placed = True
break
if not placed:
clusters.append([row])
for cluster in clusters:
best = max(cluster, key=lambda r: r["score"])
for row in cluster:
if row is not best:
row["duplicate_of"] = best["filename"]
def subject_blur(row):
# Bokeh makes the whole frame look "soft". When a face is present, judge the face.
return row["blur"] if row["face_sharp"] is None else row["face_sharp"]
eligible = [
r for r in rows
if not r["duplicate_of"] and subject_blur(r) >= BLUR_MIN and r["clip"] <= CLIP_MAX
]
eligible.sort(key=lambda r: r["score"], reverse=True)
keep_n = min(KEEP_LIMIT, len(eligible))
for row in eligible[:keep_n]:
row["keep"] = True
SELECTS.mkdir(exist_ok=True)
for old in SELECTS.iterdir():
if old.is_file():
old.unlink()
with open("cull.csv", "w", newline="") as f:
writer = csv.DictWriter(
f,
fieldnames=["filename", "blur", "clip", "faces", "face_sharp", "duplicate_of", "score", "keep"],
)
writer.writeheader()
for row in sorted(rows, key=lambda r: r["score"], reverse=True):
writer.writerow({k: row[k] for k in writer.fieldnames})
if row["keep"]:
shutil.copy2(row["path"], SELECTS / row["filename"])
print(f"{len(rows)} photos, {len(eligible)} passed filters, {keep_n} copied to {SELECTS}/")
for row in sorted(rows, key=lambda r: r["score"], reverse=True):
flag = "KEEP" if row["keep"] else ("DUP" if row["duplicate_of"] else "----")
print(f" {flag:4} {row['score']:8} blur={row['blur']:7} clip={row['clip']:.3f} faces={row['faces']} {row['filename']} {row['duplicate_of']}")
if __name__ == "__main__":
main()
A run ends with one line like 120 photos, 74 passed filters, 50 copied to selects/, then a printed table and a cull.csv you can open in any spreadsheet. keep is true only for the copies. Everyone else is still in photos/.
Step 1: Measure sharpness on a preview, not on the RAW-sized file
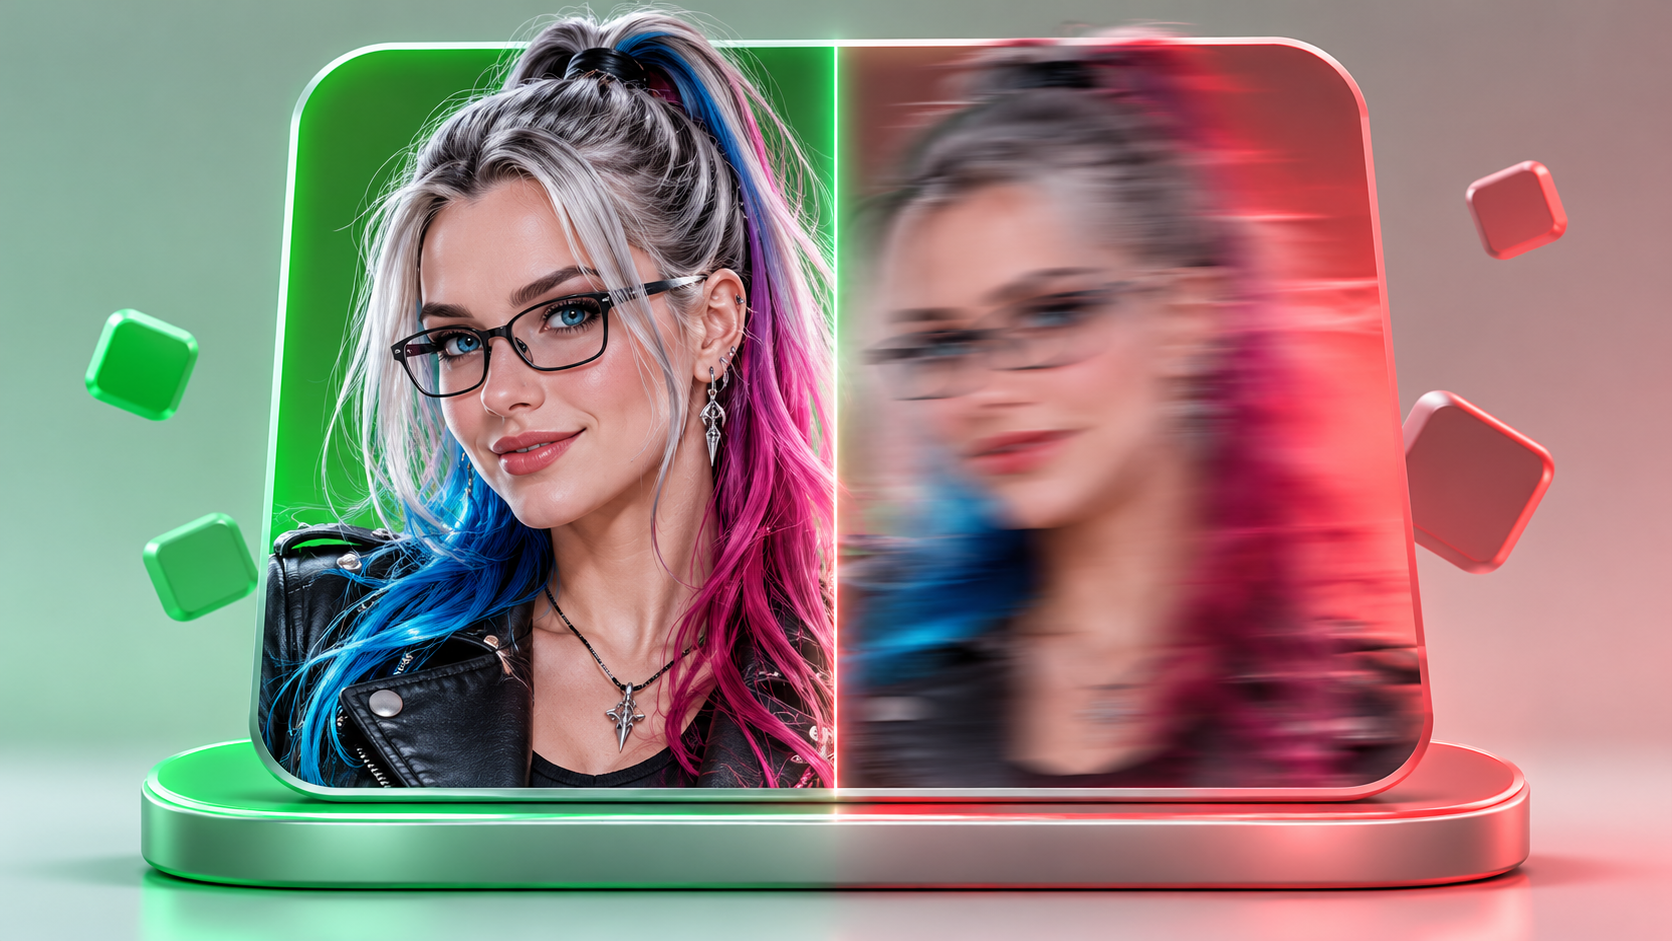
blur_score converts the preview to grey and takes the variance of a Laplacian filter. Edges and fine detail swing that number up. A missed focus and a motion smear pull it down. On an 800-pixel-wide preview, a heavily blurred frame in testing sat under 10, and an ordinary sharp portrait sat in the hundreds. BLUR_MIN = 30 is a starting cutoff for "this is obviously soft," not a law of optics.
The resize is the part people skip, and then the numbers lie. Variance grows with resolution, so a soft 6000-pixel file can outscore a sharp 800-pixel file. Every photo is measured at the same width before the comparison.
Step 2: Count crushed blacks and blown highlights
exposure_clip is the share of pixels darker than 12 or brighter than 243, on a 0–255 scale. A frame at 0.02 has a little clipping. A frame at 1.0 is essentially a black or white rectangle. Above CLIP_MAX (0.35), two things happen: the frame's score is quartered, so it loses any burst it belongs to, and it is removed from the keeper list.
That second part is what you must relax for night work. A city skyline can be mostly black sky and still be the photograph. Raise CLIP_MAX, or comment out the clip <= CLIP_MAX test and leave only the score penalty, so a dark-but-only frame survives for you to judge.
Step 3: Collapse the burst, keep the sharpest sibling
A perceptual hash (imagehash.phash) turns the preview into a short fingerprint of its layout. Subtracting two hashes gives a Hamming distance: 0 is the same image, and something under DUP_DISTANCE (8) is close enough to treat as the same moment. The script walks the folder in filename order, drops each frame into the first group it matches, and marks every frame except the highest score in that group as a duplicate.
This is a greedy grouping, not a perfect clustering. It is the right tool for a motor-drive burst, where the filenames are sequential and the framing barely moves. It will also glue two different photos together if you set the distance too loose.
Step 4: Let YuNet find the face, then score the face
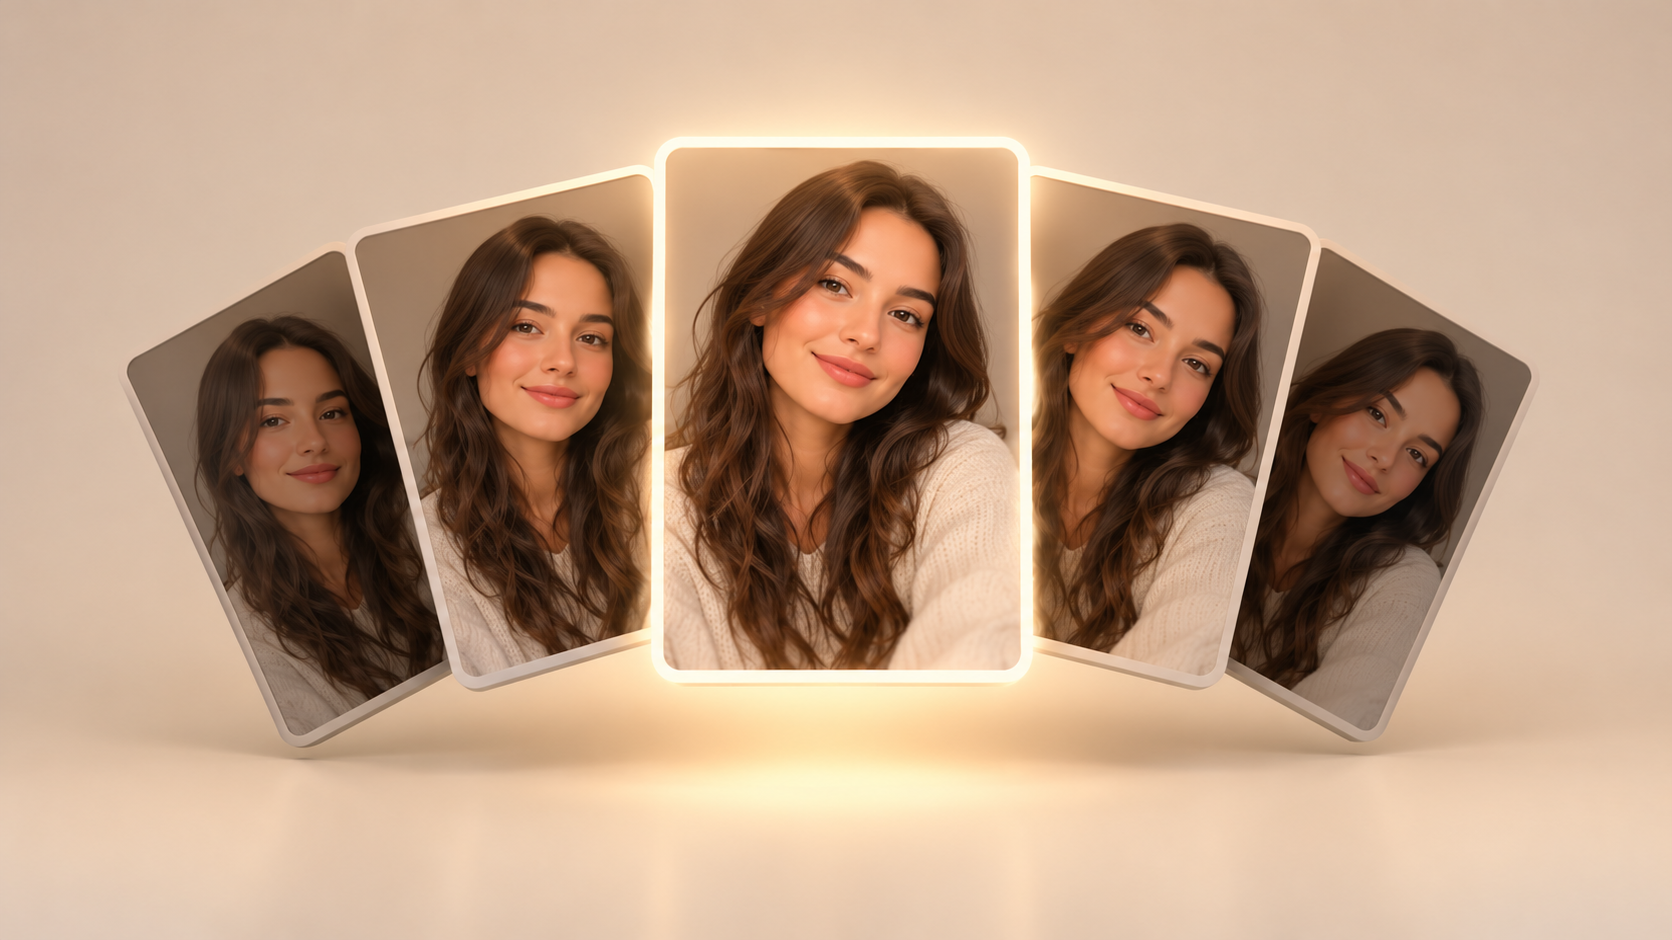
YuNet is a small face detector published through the OpenCV model zoo. It is not a recognition model. It does not know who anyone is, and it does not know whether an eye is shut. On each preview it returns boxes. Each box starts with x, y, width, height, followed by five landmarks and a confidence. The script ignores the landmarks and re-runs the Laplacian inside the box.
That crop is the difference between a portrait and a texture score. A sharp gravel path will beat a gentle portrait on a full-frame Laplacian, because gravel is pure edge. A face crop stops the background from dominating. Strong bokeh makes this worse: the blurred background pulls the whole-frame score down even when the eyes are crisp. subject_blur therefore uses face_sharp whenever a face was found, and the full frame otherwise. The ranking score is a 50/50 blend of the two, so a sharp background cannot completely rescue a soft face.
OpenCV's own model card says YuNet was trained to find faces of roughly 10 to 300 pixels. On an 800-pixel-wide preview, a face in the back row of a group photo can shrink under that and disappear. The first time you run it you may also see Targets are not supported by the new graph engine printed once. On OpenCV 5 that warning showed up in testing while detection still returned the face. It is the CPU path telling you it is not using a special accelerator.
The face detector used here. The 2026may ONNX file is the one with a flexible input size for OpenCV 5.
Step 5: Copy keepers, and leave the source folder untouched
A row is eligible when it is the winner of its burst, its subject blur clears BLUR_MIN, and its clipped fraction is at or under CLIP_MAX. Eligible rows are sorted by score, and the first KEEP_LIMIT (50) are copied into selects/. The csv lists every file, so a frame that missed the top 50 is still visible. You raise the limit; you do not dig through the trash.
Each run deletes the files already inside selects/ and writes fresh copies. It never deletes anything in photos/. If you retouch a JPEG inside selects/, move it out before you run the script again.
| filename | blur | clip | faces | face_sharp | duplicate_of | keep |
|---|---|---|---|---|---|---|
| portrait.jpg | 387 | 0.00 | 1 | 541 | true | |
| portrait-soft.jpg | 4.5 | 0.00 | 1 | 7 | portrait.jpg | false |
| doorway-dark.jpg | 7 | 1.00 | 0 | doorway.jpg | false |
Those first two rows match the shape of a real run on a sharp portrait and a strong blur of the same portrait: the soft frame is a duplicate, the face count is 1, and only the sharp sibling is kept. The third row is the other pattern to look for, a clipped frame losing to a better sibling of the same scene.

Step 6: Tune one shoot, then stop touching the constants
Run the script on a take you have already culled by hand. Open cull.csv and check three things only.
1. Frames you rejected for softness should have a low blur or a low face_sharp, and they should not be in selects/.
2. A burst you remember as one moment should share a single duplicate_of, pointing at the sibling you would have kept.
3. A photo you love that did not make the cut should tell you which constant is wrong: texture (BLUR_MIN), night exposure (CLIP_MAX), or a burst glued too aggressively (DUP_DISTANCE).
Change one constant, run again, and look at that column. Two changes at once and you will not know which one fixed it.
Step 7: Decide what this score is allowed to mean
score is a technical rank. Higher means sharper, with a face weighted in when one exists, and a clipped frame pushed down. It is not a grade of expression, moment, or composition. When you deliver, you are still the person who chooses. The script's job ends at selects/.
If you later want the ranking to prefer your taste, do it in the open: change the blend in the line that sets technical, or add a column you fill yourself. Do not describe that as the model having learned you. Nothing in this script is trained on your past picks.
Common Mistakes to Avoid
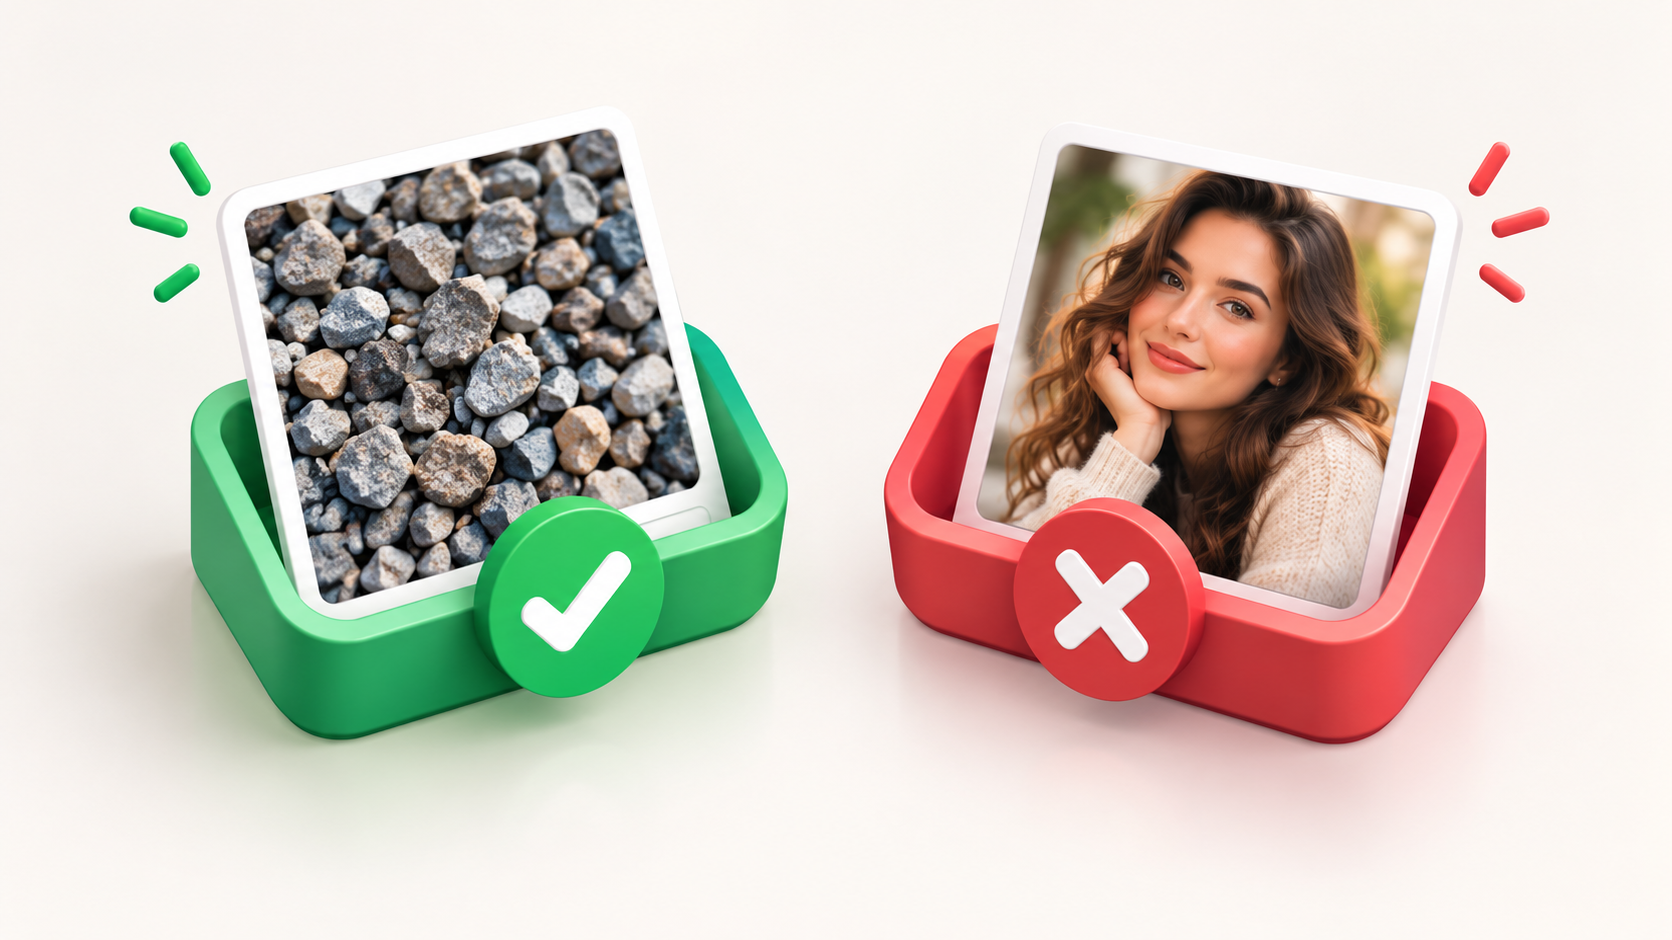
Letting gravel beat the portrait. Laplacian variance rewards texture. A sharp brick wall, a lace curtain, or foliage will outrank a quiet portrait if no face is detected, and sometimes even when one is, because half the score is still the full frame. If the job is people, sort by face_sharp and treat blur as a tiebreaker. If YuNet found zero faces on a set of headshots, the preview is too small or the score threshold (0.8 inside FaceDetectorYN.create) is too high. Lower that 0.8 toward 0.6 before you invent a new model.
Culling the RAW folder, or downloading the wrong "AI" file. The script's extension list is deliberate. A RAW dropped into photos/ is skipped or, worse, misread. And a tutorial that starts by cloning an unrelated Hugging Face repo will leave you with gigabytes of weights that never get called. The only model file this script loads is the YuNet ONNX next to it. Sharpness and exposure are classical image math. The duplicate step is a hash. Say that out loud when you explain the tool to a client who asked whether "the AI" uploaded their wedding.
Deleting as you go. shutil.copy2 is the whole safety model. The moment a script uses unlink on photos/, a bad threshold is a lost shoot. selects/ is wiped each run on purpose, so it stays a generated view. Treat it as disposable. The csv is the record of why a frame was dropped; keep that file with the job.
Going Further
Aesthetic score, as a separate column. Sharpness is not composition. The research line for "does this look like a good photograph" is NIMA (Neural Image Assessment), from Talebi and Milanfar in 2018. idealo's archived repository is a Keras implementation of that paper; do not force its .hdf5 files into MobileNet yourself. The practical route today is pyiqa: pip install pyiqa, then pyiqa.create_metric("nima", device="cpu"). The first call downloads weights. Later calls can run offline. pyiqa's retrained NIMA score is scaled to about 0–1, higher meaning better, which is a different unit from your Laplacian. Keep it in its own csv column and blend it only after you have looked at both numbers on a shoot you know. The default NIMA backbone is much heavier than YuNet. Expect a CPU run over a large folder to take a while.
Local aesthetic and quality metrics, including NIMA. Weights download once, then inference stays on your machine.
Closed eyes, with a second model. YuNet cannot do this. MediaPipe's Face Landmarker can, because it outputs blendshapes, including eyeBlinkLeft and eyeBlinkRight — the subject's left and right, not yours as you look at the picture. Download face_landmarker.task from the Face Landmarker documentation, create the landmarker with output_face_blendshapes=True, and print [c.category_name for c in result.face_blendshapes[0]] once so you match the real names. A blink score above roughly 0.5 on both eyes is a reasonable flag to start from. Tune it. Squints, sunglasses, and faces turned away will lie to you.
When a product is the right next step. Desktop and cloud cullers such as Aftershoot and Narrative Select add the pieces this script leaves out: a blink model tuned on photographs, a plugin inside the editor you already use, and presets for a genre. Use them when the first pass above is the bottleneck and you want the rest of the UI. You will pick a better one if you already know which signal you wish it had.
Key Takeaways
selects/ folder.Sources