Midjourney 101 — Beyond the Frame: Inpainting, Zoom, and Motion
Master the post-production toolkit. Learn to fix details with Vary Region, expand your canvas with Zoom Out, and generate native motion clips for social media.
The Post-Production Shift
In the early days of AI, if the image had a "weird hand" or the framing was too tight, you had to throw it away and start over. In May 2026, the workflow has fundamentally shifted. Generating the initial grid is only the first 50% of the process. The remaining 50% happens in post-production.
Midjourney v8.1 provides a suite of "surgical" tools that allow you to act as both a retoucher and a cinematographer. You can now modify specific pixels, pull the camera back to reveal more of the world, or even generate a short motion pulse of the creation process. This module shows you how to take a "good" generation and turn it into a flawless professional asset.
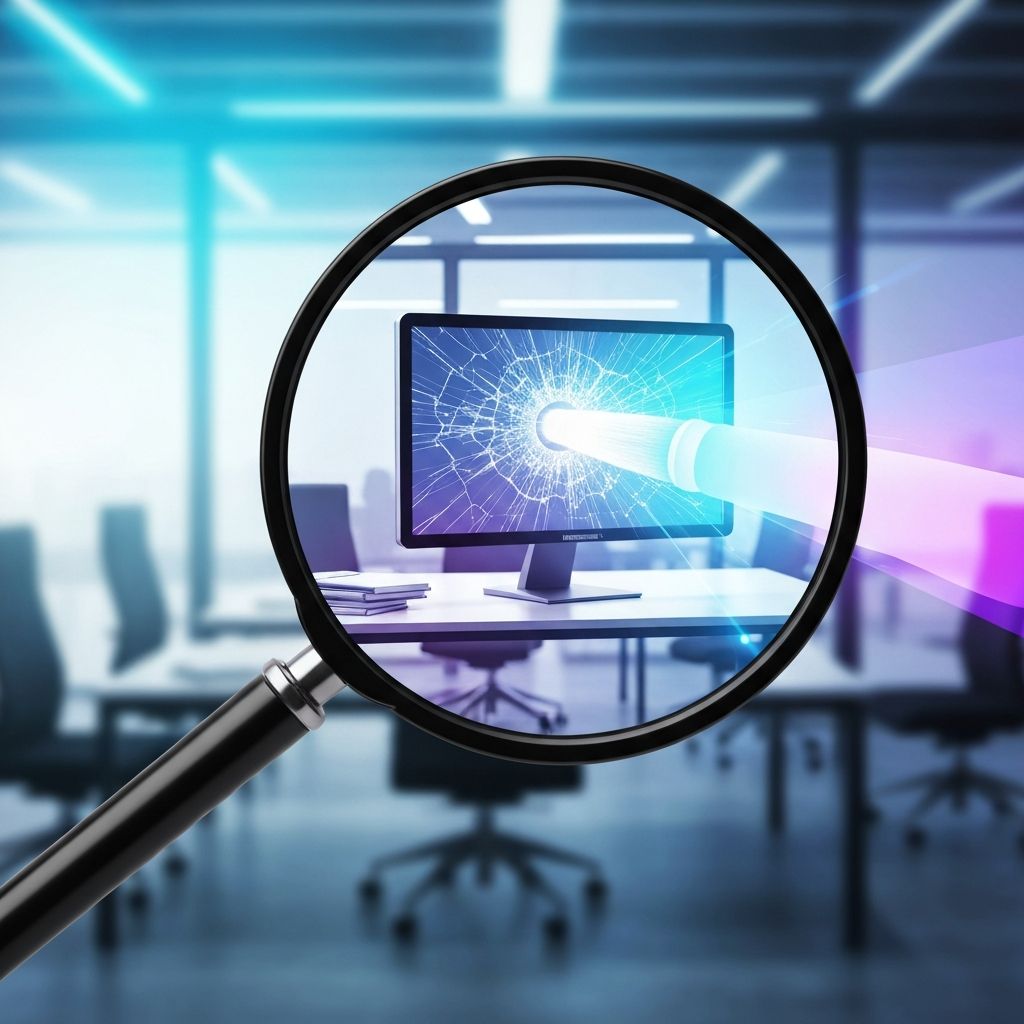
A magnifying glass hovering over a digital image of a tech office, with a broken monitor being transformed into a perfectly rendered holographic display
What You Will Learn
Section 1: Vary Region—The Digital Surgeon (Inpainting)
Section 2: Zoom Out & Pan—The Infinite Canvas Tools
Section 3: Native Motion with --video—Creating hypnotic time-lapses
Section 4: The Master Editor Workflow—Web Alpha interface mastery
Section 5: The "Fix and Expand" Build—Real-world production example
Section 1: Vary Region – The Digital Surgeon (Inpainting)
The Concept: Vary Region is Midjourney's version of "Inpainting." It allows you to select a specific area of an upscaled image and ask the AI to re-render only that part, fixing mistakes without regenerating the entire image.
The Scenario
You have a perfect photograph of an entrepreneur in a Hong Kong cafe, but there's a random water bottle on the table that ruins the "clean" aesthetic. Instead of regenerating the entire image, you surgically remove just that element.
The Workflow
Step 1: Access Vary Region
Click "Vary Region" on your upscaled image
Use the "Lasso" or "Rectangle" tool to select the water bottle
Step 2: The Prompt Shift
In the prompt box, change the description to: "a sleek minimalist laptop"
OR leave it blank to simply "remove" the object entirely
Step 3: Execute
The AI re-renders only that selected region
Everything outside the selection remains untouched
Expected Result: The water bottle disappears seamlessly. The AI fills in the table texture and lighting as if the bottle was never there.
Advanced Vary Region Techniques
Fix Details:
Repair "AI hands" that look weird
Swap clothing colors or styles
Remove photobombers or distractions
Add missing objects or details
Brand Consistency:
Change a logo from red to your brand color
Add or modify text/signage in the background
Adjust lighting in specific regions only
A magnifying glass highlighting and transforming a specific area of an image with precise digital brushstrokes
Section 2: Zoom Out & Pan (Outpainting)
The Concept: Sometimes the composition is perfect, but the framing is too tight. Zoom Out allows you to pull the camera back, while Pan allows you to extend the canvas in a specific direction—creating "infinite canvas" possibilities.
Zoom Out: Pulling the Camera Back
Zoom Out 1.5x / 2x
Pulls the camera back from your subject
Midjourney imagines what exists outside the original frame
Example: Turn a portrait into a person sitting in a large corporate office
Custom Zoom + Aspect Ratio
Zoom while changing aspect ratio simultaneously
Example: Take a 1:1 square and transform it to --ar 16:9 by filling in the sides
Perfect for adapting images to different platform requirements
Pan: Grow in Specific Directions
Pan extends your image in a single direction:
Pan Up: Add more sky for headlines, atmospheric space
Pan Down: Add more foreground, ground details
Pan Left: Extend the scene leftward
Pan Right: Add "white space" for overlaid text
The Infinite Canvas Workflow
1. Generate your core composition (tight, well-composed) 2. Use Zoom Out to pull back and see more context 3. Use Pan to extend in the direction that makes sense for your layout 4. Repeat for different social media formats (1:1, 16:9, 9:16, etc.)
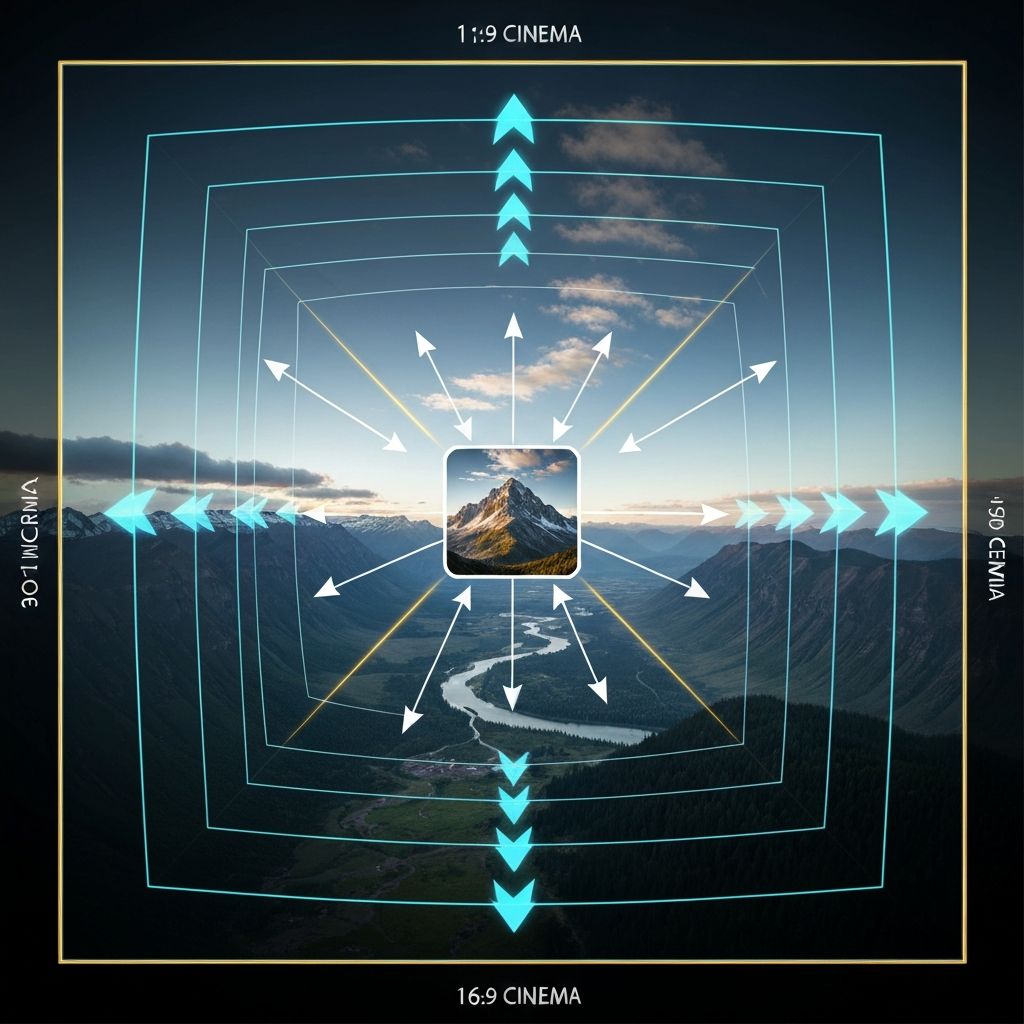
A small square mountain peak image being expanded outward into a massive panoramic landscape with valley, river, and sky
Section 3: Native Motion with --video
The Game Changer: In 2026, static images are often not enough for high-engagement social media. Midjourney has a native parameter that records the "evolution" of your image from noise to masterpiece.
How to Use --video
In Discord:
1. Add --video to the end of any prompt 2. Midjourney generates your four images as usual 3. React to the message with an Envelope emoji (✉️) 4. The bot DMs you a link to a short time-lapse video of your image being created
In Web Alpha:
1. Add --video to the prompt 2. Generate your images 3. Click "Export" or "View Process" tab 4. Download the motion clip directly
Why This Matters
These "Making-of" clips are gold for social media:
Proof of Process: Shows the creation is AI-generated, not stolen
Hypnotic Movement: The gradual "emergence" captures attention
Platform Gold: Perfect for TikTok, Instagram Reels, YouTube Shorts
Behind-the-Scenes Appeal: Audiences love seeing the "birth" of art
Motion Clip Best Practices
Generate motion for your hero images only (saves video quota)
Use for trending sound tracks on social media (TikTok syncs perfectly)
Create a "Making-of" content series for your brand
Share as loop-able 15-30 second vertical videos
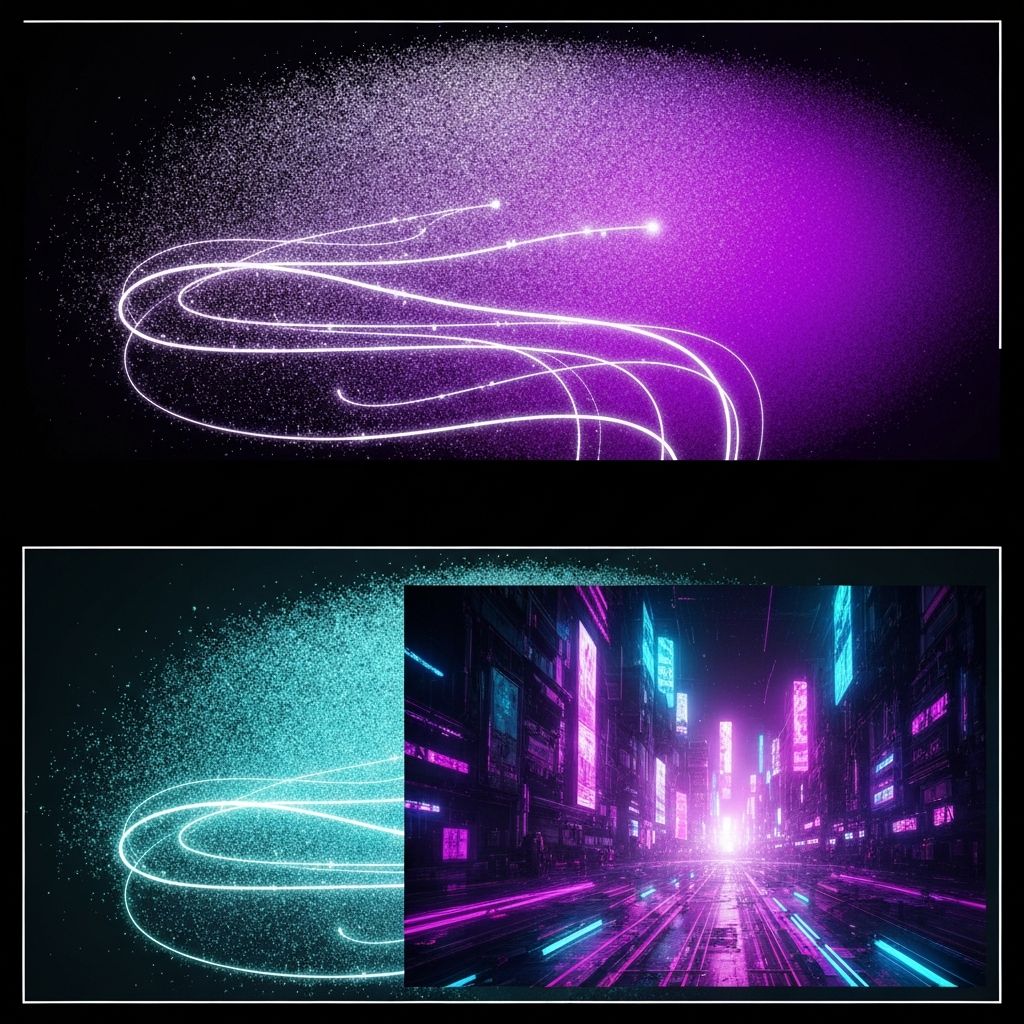
A time-lapse sequence showing an image evolving from noise to a complete masterpiece, with motion lines and glowing digital particles
Section 4: The Master Editor Workflow (Web Alpha)
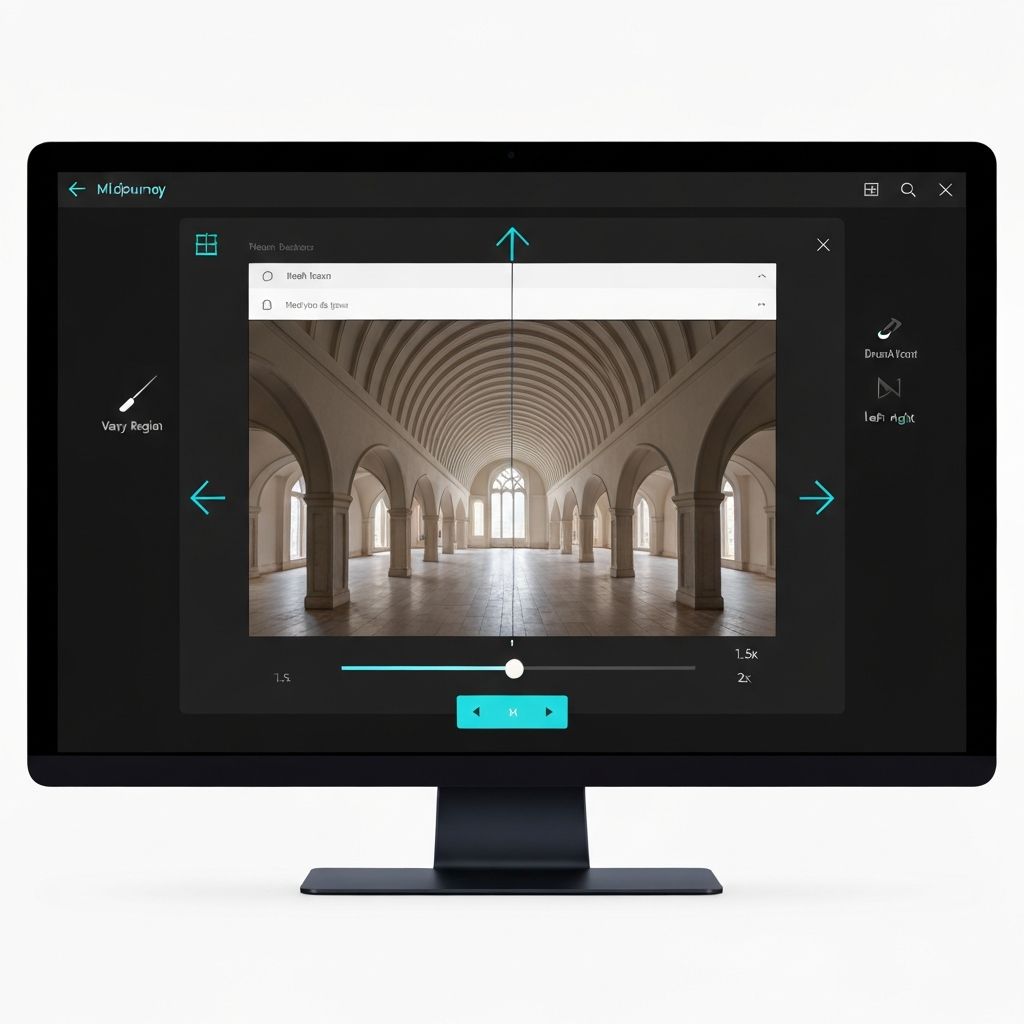
The Interface: The Web Alpha's Editor view combines Vary Region, Zoom, and Pan into a single unified workspace, making the entire post-production process seamless.
The Professional Sequence
Step 1: Generate
Create your base brand image with a strong prompt
Step 2: Upscale
Pick the best of the four generations
Step 3: Edit
Click "Editor" to enter the combined workspace
Step 4: Refine
Use the Brush tool to fix small details (Vary Region)
Use the Scale slider to pull the camera back (Zoom)
Make both adjustments in the same session
Step 5: Direct
Use the Pan arrows to position your subject perfectly on the Rule of Thirds
Ensure composition works for your intended format
Step 6: Export
Download final assets at 2K+ resolution
If you used --video, grab the motion clip
Version your assets by iteration
Why Web Alpha Changes Everything
The unified interface means you can:
Fix details and expand canvas in one session (no re-uploading)
See changes in real-time without regenerating
Maintain consistency across multiple edits
Work 3-5x faster than Discord workflow
A Midjourney Web Alpha editor interface with brush tools, zoom slider, and pan arrows visible around an architectural image
Section 5: The "Fix and Expand" Build – Real-World Production
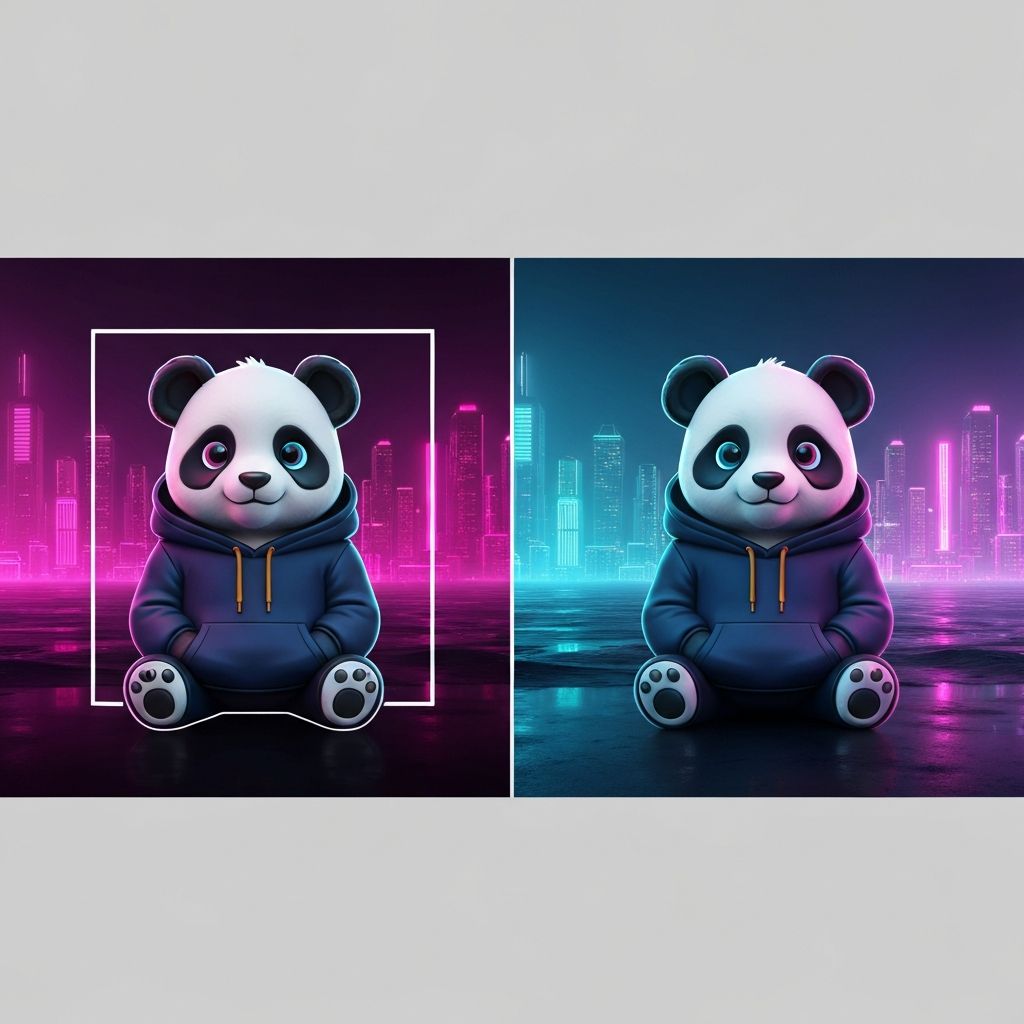
The Scenario: You have a 1:1 square image of a "Cyber-Panda" mascot. But:
❌ He's wearing a red shirt (your brand color is blue)
❌ You need this as a wide 16:9 YouTube thumbnail
✅ The composition is perfect otherwise
Step 1: The Fix (Vary Region)
Prompt: "Use Vary Region to select the shirt" Revised Prompt: "A sleek navy blue tech-fabric hoodie, premium materials, perfect stitching"
Result: The panda's shirt transforms from red to navy blue, perfectly on-brand.
Step 2: The Expansion (Custom Zoom)
Action: Use Custom Zoom Settings:
Zoom Level: 1.5x
Target Aspect Ratio: --ar 16:9
Direction: Expand symmetrically (or favor specific direction)
Result: The 1:1 square becomes a wide-screen cinematic image. The panda is perfectly positioned on the Rule of Thirds, with a beautiful expanded background that provides plenty of white space for your YouTube video title.
The Final Output
One flawless image that is:
✅ On-brand (navy blue hoodie)
✅ Correctly formatted (16:9 for YouTube)
✅ Properly composed (Rule of Thirds)
✅ Production-ready (no visible AI artifacts)
A cyber-panda mascot wearing a navy blue hoodie, positioned perfectly in a wide 16:9 cinematic landscape
The Time Investment
Without Post-Production Tools: Regenerate 20+ times to get this result (~5-10 minutes)
With Vary Region + Zoom: 2-3 edits in one session (~2-3 minutes)
Efficiency Gain: 75% faster, 100% consistent
Learn AI, after work
Track your progress, earn XP, and unlock more free tutorials in the AfterWork Bytes app.