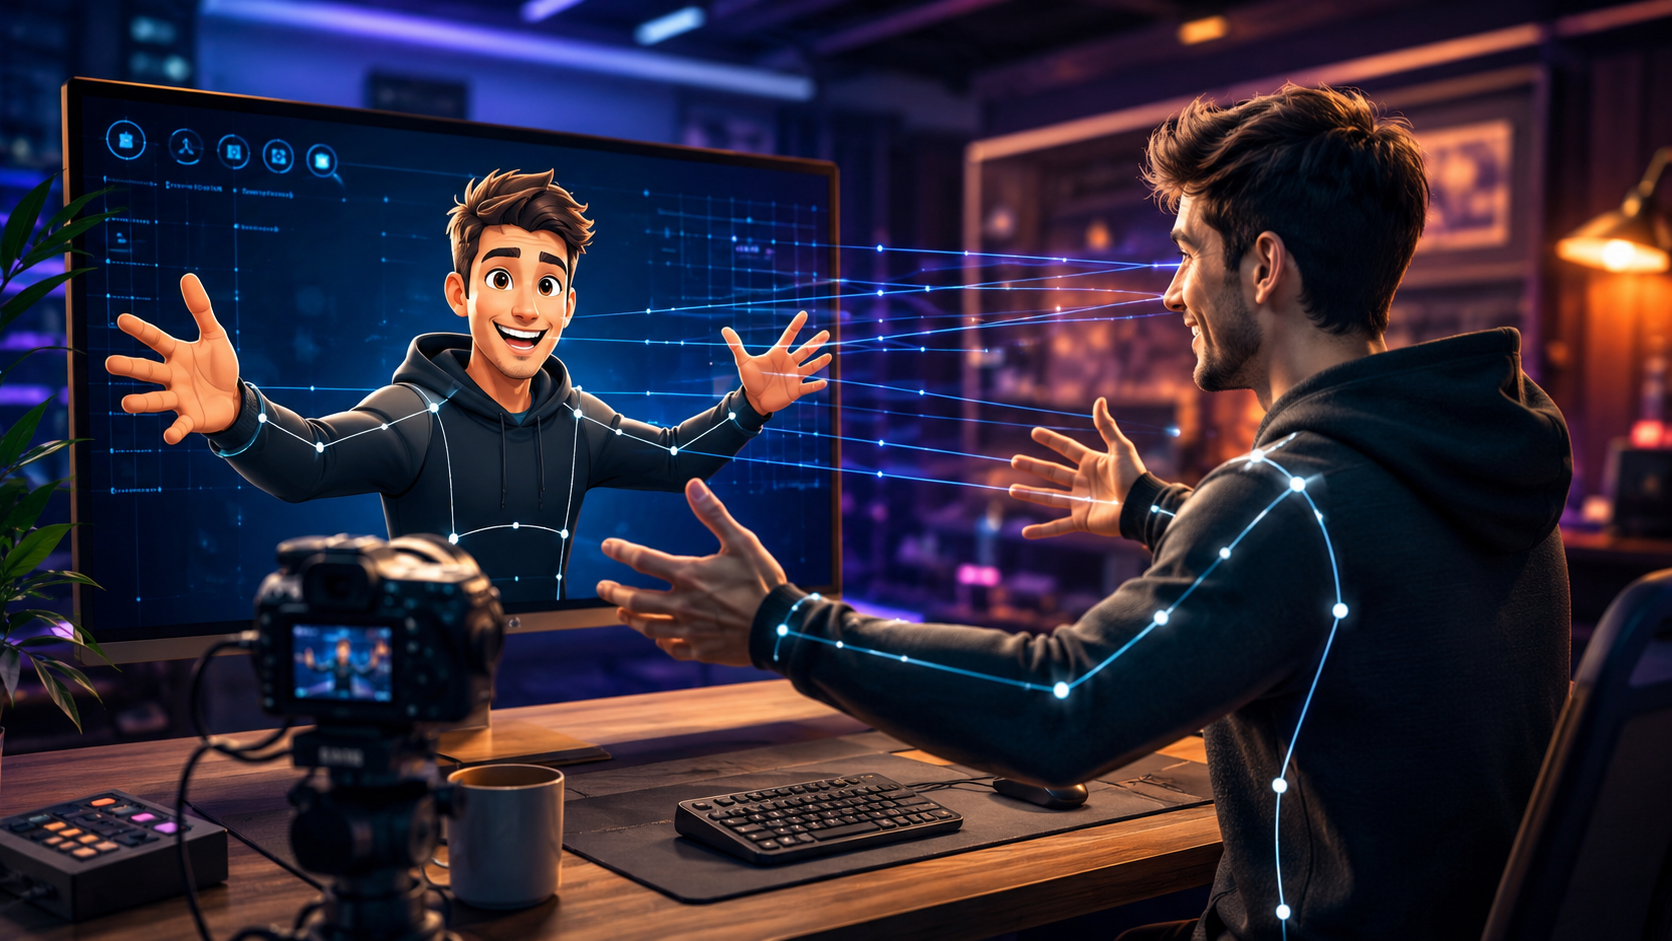
Replace Faces in Videos with WAN Animate for YouTube
In this guide, you will take a plain talking-head video and transform it into character-driven content — your performance, your expressions, your lip-sync, delivered through a completely different face. The tool is WAN Animate, Alibaba's open-source character animation model, and the workflow takes about 30 minutes end to end: prepare a source video and a reference image, run the replacement, review the output like an editor, fix the mismatches that break realism, and publish it on YouTube the right way — including the AI-disclosure step that most tutorials skip and that protects your channel. No Hollywood budget, no After Effects — just your computer, a webcam clip, and a bit of judgment about what makes a swap look real.
Difficulty: ★★☆☆☆ (The tool is point-and-click; the skill is preparing good inputs and spotting the artifacts that give a bad swap away)
Required Tools: WAN Animate (free, browser-based) + a source video + a reference face image
Updated: July 2026
Overview
Face replacement used to be the most expensive trick in video production — the kind of thing that took a VFX team, per-frame compositing, and a budget with commas in it. WAN Animate collapses that into a browser upload. You provide two things: a video of a person performing (talking, gesturing, moving), and a single image of the character you want performing it. The model transfers the performance — head movement, facial expressions, lip-sync — onto the new face, and returns a video where the character delivers your exact performance.
That capability unlocks a set of genuinely useful creator workflows: presenting as a branded character or mascot without an animator, running a faceless YouTube channel that still has human expressiveness, turning yourself into a fictional narrator for storytelling content, or producing client videos where a licensed character does the talking. It also — and this matters — makes it trivially easy to put words in the mouth of someone who never said them, which is why the last step of this tutorial is about consent and disclosure, not just export settings. The creators who win with this technology long-term are the ones whose audiences trust them; we'll build the workflow with that in mind from the start.
This article does four things. First, it explains what WAN Animate actually does — motion transfer onto a target face, not a simple "paste face here" — because understanding the model explains every quality rule that follows. Second, it walks through input preparation, which is where output quality is genuinely decided: the video you record and the reference image you choose matter more than any setting in the tool. Third, it covers the run-review-fix loop: generating the swap, auditing it for the four artifacts that break realism, and the first-frame editing trick that fixes the most common ones. Fourth, it takes the finished video to YouTube properly — the altered-content disclosure toggle, when consent is required, and how to caption AI-assisted content so it builds your brand instead of undermining it.
The honest goal: by the end of this article, you should have one finished, disclosed, publishable character video — your performance through another face — that a viewer would describe as "cool" rather than "creepy." That adjective gap is the entire craft, and it comes down to input quality, artifact fixing, and honesty about what they're watching.
Who This Is Useful For
What You Will Learn
By the end of this article, you'll be able to do five things:
What You Need
Step 1 — How WAN Animate Works (And Which Mode You Want)
One minute of model understanding that explains every quality rule in this tutorial.
WAN Animate is not doing "cut this face, paste that face." It's doing performance transfer: the model reads your source video and extracts the performance — head pose frame by frame, facial expression dynamics, mouth shapes synchronized to speech — and then renders the reference character's face executing that same performance. Your video is the puppeteer; the reference image is the puppet.
Two consequences follow directly:
WAN Animate has two modes, and choosing correctly matters:
Rule of thumb: real-world setting → Character Replacement; character's own world or illustrated character → Photo Animate. When in doubt, run both on a short clip — the right answer is usually obvious in one comparison.
Step 2 — Prepare Your Inputs (This Is Where Quality Is Decided)
The settings screen gets all the attention, but the inputs decide the output. Ten minutes here beats an hour of regenerating.
The source video — recording rules:
The reference image — selection rules:
And the rule that isn't optional — where the reference face can come from:
The good news: the legitimate column is creatively richer anyway. An original AI-generated presenter face is unique to your channel — nobody else's videos look like yours.
Step 3 — Run the Replacement
With good inputs, the tool part is genuinely simple.
1. Go to wan-animate.io and click Animate
2. Select your mode — Character Replacement for your scene, Photo Animate for the character's scene (Step 1's rule)
3. Upload your source video and reference image
4. Set resolution to 720p
5. Click Generate and let it process
The Pro Mode decision: Standard mode is faster and fine for drafts and social clips viewed on phones. Pro Mode takes noticeably longer but produces cleaner edges, more stable lighting integration, and better detail — worth it for anything going on YouTube proper, client deliverables, or any video where viewers will watch on a large screen. A workflow that respects your time: run Standard first as a cheap draft to verify the performance transfers well, then re-run the keeper in Pro Mode.
You can also add a guidance prompt in Pro Mode to steer the integration:
Generate high-quality face replacement with seamless lighting integration.
While it processes, do the productive thing: prepare your review checklist (next step) and queue up your original video side by side for comparison.
If the output comes back obviously broken — face detached from head movement, garbled mouth, flickering identity — don't fiddle with settings. Broken outputs are almost always input problems: face obstruction in some frames, too-extreme head turns, or a reference image the model couldn't read. Re-check Step 2's rules against your inputs, fix the worst violation, and re-run. One good input fix beats five setting tweaks.
Step 4 — Review Like an Editor: The Four Artifacts
Everyone watches their output once and thinks "whoa, cool." Watch it three more times looking for these four specific artifacts — they're what separate "cool" from "creepy," and each has a different fix.
Artifact 1: Lip-sync drift. The mouth is close but lags or approximates on certain sounds — usually plosives (p/b) and wide vowels. Watch the mouth only, sound on, full clip. Minor approximation on one or two words is below most viewers' threshold; consistent drift means your source enunciation was too soft — re-record the audio-critical section speaking more crisply and re-run.
Artifact 2: Edge shimmer. The boundary where the replaced face meets hair, jawline, or background flickers or "swims" between frames. Watch the silhouette, sound off. Shimmer usually traces back to hair over the face or fast head motion in the source; Pro Mode reduces it substantially. If it persists in one spot, it's often a few frames of obstruction — sometimes trimming two seconds of the clip removes the entire problem.
Artifact 3: Lighting mismatch. The face is lit differently than the scene — brighter, cooler, or lit from the wrong side. It reads as "pasted on" even when viewers can't articulate why. This one is nearly always a reference-image problem (Step 2's lighting-compatibility rule) — fix the reference, not the video. Pick or generate a reference lit like your scene and re-run.
Artifact 4: Dead eyes. Expressions and mouth work, but the eyes don't track or blink naturally — the classic uncanny valley trigger. Check blinks especially: source videos where you blink rarely (common when concentrating on a script) produce unnervingly starey output. The fix is performance-side: re-record with deliberate, natural blinking and micro-glances. It feels silly to perform; it reads as human.
Grade honestly: one minor artifact that only you notice → publishable. Two or more visible artifacts → fix and re-run; each fix above is targeted and cheap compared to publishing something that lands creepy.
Step 5 — Fix Mismatches with the First-Frame Trick
The highest-leverage fix in the WAN Animate workflow: when you want to keep everything about your original video — clothing, body, background — and change only the face, don't fight the settings. Edit the first frame.
The technique:
1. Extract the first frame of your source video as an image (any video player's screenshot, or an online frame extractor)
2. Edit that frame in an image editor — replace the face in this single still image with your reference character's face, keeping your clothing, pose, and background exactly as they are. An AI image editor (the original workflow used Cream 4; any capable image editor with face-aware editing works) makes this a two-minute job
3. Use the edited frame as your reference image in WAN Animate — now the reference already wears your clothes, in your lighting, in your scene
4. Re-run the replacement. The model no longer has to reconcile a foreign reference with your scene — the reference is your scene, with the new face
This one trick fixes lighting mismatch (the reference inherits your video's lighting), wardrobe discontinuity (your clothes are preserved perfectly), and background inconsistency (same reason) — the three complaints people have when a plain reference image "takes over" too much of the frame.
It's also the professional pattern for series consistency: for a recurring character across many videos, do the first-frame edit once per shoot setup, and every video from that setup gets an identical, perfectly integrated character.
Step 6 — A Real Walkthrough: Branded Character Explainer, End to End
Here's the entire pipeline on a realistic job — modeled on Sarah, a freelance marketer producing a product explainer for a client whose brand has an illustrated mascot, "Max," that the client owns outright.
The job: a 12-second product explainer for the client's YouTube and site. The client wants Max presenting it — but animating Max traditionally would cost more than the whole video budget. Sarah's plan: perform it herself, deliver it through Max's face.
Her run, start to finish:
1. Inputs (8 min). She records herself at a window, 1080p phone clip, 12 seconds, hair back, enunciating the product pitch with deliberately animated expressions and natural blinks. For the reference, the client's mascot sheet has a front-facing Max portrait — high-res, neutral expression. Rights: client owns Max, written approval in the brief. ✅
2. Mode choice (1 min). Max is an illustrated character with his own visual style — Photo Animate (Step 1's rule: illustrated character → character's world). She wants Max's look, driven by her performance.
3. Test slice (4 min). She runs a 5-second slice first. Max animates well — the illustrated style actually hides minor imperfections that would show on a photoreal face. Green light.
4. Full run (6 min). Full 12 seconds, 720p, Pro Mode — it's a client deliverable. She adds the lighting-integration guidance prompt.
5. The four-artifact review (5 min). Lip-sync: crisp — her enunciation paid off. Edges: clean (illustrated characters are forgiving). Lighting: consistent. Eyes: Max blinks naturally, because she blinked naturally. One tiny mouth approximation on the word "probiotics" — below threshold; her fresh-eyes test (her partner) reports "this is really fun," not "something's off."
6. Publish pass (4 min). She exports and delivers with a usage note to the client: when uploading to YouTube, tick the altered-content disclosure ("Yes" to realistic altered/synthetic content), and she suggests an on-screen caption in the first seconds: "Max is brought to life with AI ✨" — turning the disclosure into a brand moment.
Total: ~28 minutes. The client's mascot now presents videos — a capability they assumed required an animation studio. Sarah's follow-up email pitched a monthly series of Max explainers; the first-frame consistency trick (Step 5) means every episode's Max looks identical. That's a retainer, born from one tutorial's worth of workflow.
The two decisions that made this work transfer everywhere: the rights check happened at input time (Max is owned by the client — no gray area), and the disclosure became branding instead of fine print. Trust-preserving choices, zero cost to the creative.
Step 7 — Publish It Right on YouTube
The video is done. The last five minutes protect your channel and your audience's trust — and they're not optional.
The disclosure toggle. YouTube requires creators to disclose realistic altered or synthetic content. In YouTube Studio, during upload: Show more → Altered content → select "Yes." For face-replaced video of realistic humans, this applies to you. YouTube adds a label; undisclosed synthetic content that gets flagged later risks removal and channel penalties. Illustrated-character output (like Max) is less likely to be judged "realistic," but when in doubt, disclose — the cost of the label is near zero.
The consent line, one more time. Before publishing, re-verify: the face in this video is yours, a consenting person's, a character you have rights to, or an AI-generated nobody. If a video features a real person's likeness without consent, don't publish it — the platforms' impersonation policies, publicity-rights law, and your audience's trust all point the same direction.
Make the disclosure work for you. The creators doing this well don't bury the AI acknowledgment — they feature it. An on-screen caption ("AI-powered character — my real voice and performance"), a pinned comment explaining the workflow, or making the transformation itself the content ("I turned myself into our mascot") all convert the honesty requirement into engagement. Audiences in 2026 are consistently more impressed by a well-executed, transparent AI workflow than fooled by a hidden one — and being caught hiding one is a trust event channels don't fully recover from.
Practical upload notes: export at the highest resolution you generated (Pro Mode 720p holds up fine at YouTube's player sizes; upscale to 1080p in your editor if you're compositing it into a larger edit), and give the thumbnail the same scrutiny as the video — a frame with any of Step 4's artifacts makes a bad first impression at exactly the moment viewers decide whether to click.
Common Mistakes to Avoid
Three patterns cause most face-replacement failures.
Mistake #1: Fixing input problems with settings. Low-res source, bad lighting, covered face — then an hour of regenerating with different options, wondering why every output is uncanny. The model can't transfer performance data it can't read. When output disappoints, audit inputs against Step 2 first; settings second. One re-recorded clip beats ten regenerations.
Mistake #2: Skipping the artifact review. The first viewing always impresses — it's your face doing magic. Publish without the four-artifact pass and your viewers do the review instead, in the comments, with the word "creepy." Three extra viewings with a checklist is the entire difference.
Mistake #3: Treating disclosure and consent as afterthoughts. Using an unconsented real face, or publishing realistic synthetic video without the YouTube disclosure, feels consequence-free right up until it isn't — a strike, a takedown, a legal letter, or a trust-destroying exposure. The legitimate workflow (own/consented/licensed faces + disclosure) costs nothing creatively. There is no version of this technology worth your channel.
Going Further
Chain clips for longer content. The 15-second limit is per-clip, not per-video. Record your script in 10–15 second segments under identical conditions, process each with the same reference, and cut them together — the consistency rules (same reference, same setup) keep the character stable across cuts.
Create an original recurring presenter. Generate a unique face with any AI image tool (a person who doesn't exist — no rights issues, fully yours), do the first-frame integration trick once, and you have a channel host nobody else can copy. Faceless-channel creators: this is the upgrade from text-to-speech-over-stock-footage.
Combine with the animation-cleanup workflow. WAN Animate output sometimes benefits from edge cleanup — our PNG alpha mask tutorial's pipeline (frame export → edge refinement → reassembly) applies directly when you're compositing a replaced-face subject onto new backgrounds.
Watch the model line evolve. WAN Animate is under active development, and this space moves fast — the input-preparation skills, artifact review, and publishing discipline from this tutorial transfer to every next-generation tool; only the settings screens change.
Key Takeaways
Here's what you learned in this guide:
Your challenge, restated for the road: record a 10-second clip of yourself today, generate an original presenter face (or use your own styled reference), run the full pipeline — including the four-artifact review and the disclosure — and publish the result. The moment a viewer asks "how did you DO that?" is the moment this stops being a tutorial and becomes your format.