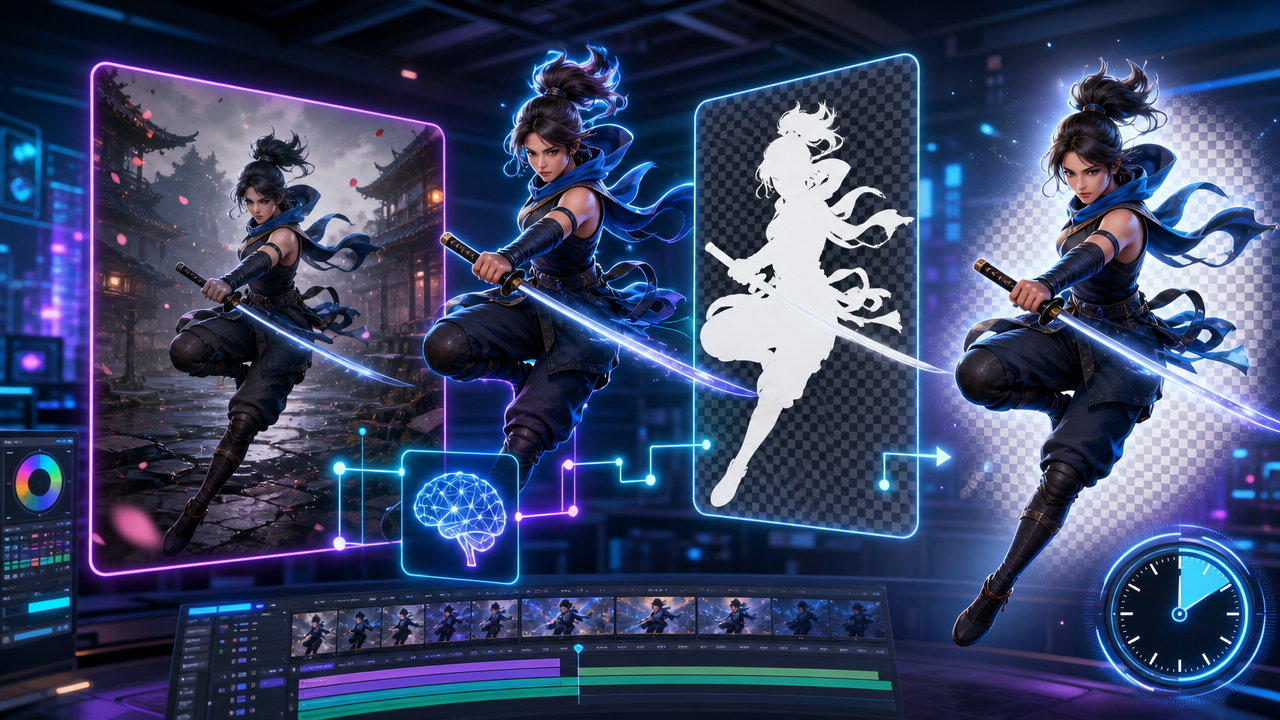
Clean Up AI Animations with PNG Alpha Masks in 30 Minutes
In this guide, you will take a rough AI-generated animation — jagged edges, halo fringing, an inconsistent background — and turn it into a clean, professional clip you'd be happy to put in an ad, a pitch deck, or a client deliverable. The technique is PNG alpha masking: exporting your animation as individual frames, stripping the background from each one, refining the edges, and reassembling the result. You'll do the whole thing with free-tier tools (Remove.bg and Canva), and by the end you'll have a repeatable cleanup pipeline that works on output from any AI animation tool — Runway, Pika Labs, Kaiber, or whatever ships next month.
Difficulty: ★★☆☆☆ (No design experience needed — the tools are drag-and-drop; the skill is knowing the right order and the right settings)
Required Tools: Free Canva account + free Remove.bg account + any AI-generated animation
Updated: July 2026
Overview
AI animation tools have gotten astonishingly good at motion — and they're still mediocre at edges. Generate a product spin, a logo reveal, or an animated character, and the movement is usually convincing while the silhouette is a mess: staircase pixels along curves, a faint halo of background color clinging to the subject, and a background that shifts shade slightly from frame to frame. Viewers can't always name the problem, but they feel it instantly — the difference between "this brand hired a motion designer" and "someone typed a prompt."
The fix doesn't require After Effects or a motion design course. It requires understanding one idea — the alpha channel, the fourth channel in a PNG that stores per-pixel transparency — and applying it frame by frame. An alpha mask is simply that channel used as a stencil: fully opaque where your subject is, fully transparent where the background was, with a soft gradient at the boundary. Get the mask right on every frame and the jaggedness, halos, and background inconsistency all disappear in one move, because all three are really the same problem: pixels that don't belong to your subject being treated as if they do.
This article does four things. First, it explains why AI animations have dirty edges in the first place and what an alpha mask actually does — two minutes of theory that make every later step obvious instead of ritual. Second, it walks the pipeline tool by tool: exporting a PNG sequence (not an MP4 — this choice decides everything), batch-stripping backgrounds with Remove.bg, and refining edges with Canva's Smooth effect. Third, it reassembles the frames into a final animation and covers the export decisions that trip people up — transparency support, frame duration, and format-per-destination. Fourth, it walks the entire pipeline end to end on a realistic job — a freelancer cleaning up a client's logo animation — so you see the decisions in context, not just the buttons.
The honest goal: by the end of this article, you should have cleaned up one real animation of your own — and the before/after should be dramatic enough that you'd post it. If you don't have an animation handy, the tutorial shows you where to generate a free test clip in Step 2. "I understand alpha masks" is not the goal. "My animation went from AI-rough to client-ready in half an hour" is.
Who This Is Useful For
What You Will Learn
By the end of this article, you'll be able to do five things:
What You Need
Step 1 — Why AI Animations Have Dirty Edges (And What an Alpha Mask Actually Is)
Two minutes of theory, so the rest of the tutorial is decisions instead of rituals.
AI animation models generate each frame as a full rectangular image — subject and background baked together into RGB pixels. Three problems fall directly out of that:
Here's the key insight: all three are the same problem — pixels that don't belong to your subject being carried along with it. Which is why one fix handles all three.
A PNG has a fourth channel alongside red, green, and blue: the alpha channel, which stores per-pixel opacity from 0 (fully transparent) to 255 (fully opaque). An alpha mask is that channel used as a stencil: opaque over your subject, transparent where the background was, with a narrow soft gradient at the boundary so the edge blends into any background you place it on. Cut the mask correctly on every frame and: the jaggies are gone (the soft gradient replaces the staircase), the halo is gone (the blended boundary pixels are cut away), and the background inconsistency is gone (there is no background anymore).
The catch — and the reason this is a workflow rather than a button — is that an animation is dozens of frames, and the mask has to be right on every one of them. That's exactly what the next four steps handle.
Step 2 — Export a PNG Sequence, Not an MP4
The single most consequential choice in the whole pipeline happens before any cleanup: how you export from your AI tool.
Export as PNG sequence — one PNG file per frame — not as MP4. Two reasons this is non-negotiable:
In your AI tool, look for Export → PNG Sequence (Runway has it directly; other tools name it "Image Sequence" or "Frames"). Export every frame into one dedicated folder — one animation, one folder, nothing else in it.
Frame naming matters more than it looks. You want zero-padded sequential names:
frame_001.png
frame_002.png
frame_003.png
...
frame_030.png
Zero-padding is the detail that bites people: without it, alphabetical sorting puts frame_10.png before frame_2.png, and your reassembled animation stutters through frames in the wrong order — a bug that looks like a glitchy animation rather than a naming problem, which makes it miserable to diagnose. Most AI tools zero-pad automatically; if yours doesn't, rename before doing anything else.
Two sanity checks before moving on: the frame count matches what you expect (a 5-second clip at 12fps ≈ 60 frames; at 24fps ≈ 120), and opening the first, middle, and last frames shows your subject fully in frame in each. Catching a bad export now costs seconds; catching it after background-removing 60 frames costs the whole session.
If your tool truly can't export frames (some free tiers only give MP4), you can extract frames from the MP4 as a fallback — free converters and even Canva itself can split video to frames. You inherit the compression damage, but the pipeline still improves the result dramatically. Prefer the native PNG export whenever it exists.
Step 3 — Strip the Backgrounds with Remove.bg
Now the heavy lifting: cutting the background out of every frame. Remove.bg's AI segmentation does the actual mask-cutting; your job is to feed it frames and check its work.
The free-tier workflow (one frame at a time):
1. Go to remove.bg and upload frame_001.png
2. It processes in a few seconds — you'll see your subject on the checkerboard pattern that means "transparent"
3. Download the result into a new folder — call it cleaned/ — keeping the same filename
4. Repeat for each frame
Yes, this is repetitive on the free tier — 30 frames takes roughly 15 minutes of upload-download rhythm. Two ways to shorten it:
1. Zip your PNG sequence folder
2. Upload the zip via Remove.bg's Bulk Edit
3. Download the returned zip and extract into cleaned/
Check the cut on those early frames by dropping a cleaned frame into any editor over a bright solid color. You're looking for: no leftover background patches, no missing pieces of subject (thin parts — antennae, hair strands, thin text strokes — are the usual casualties), and a soft, halo-free boundary.
Where AI background removal struggles, and what to do:
Step 4 — Refine the Edges in Canva
Remove.bg's cut is usually 90% there. The remaining 10% — slightly crunchy edges where the segmentation was decisive but not graceful — is what Canva's Smooth effect fixes.
Open Canva, create a new design (any size larger than your frames), and upload your cleaned PNG frames. Then, for each frame that needs it:
1. Place the frame on the canvas and select it
2. Click Edit image → Effects → Smooth
3. Set the strength — start at 50% — and compare the edge before/after
4. Apply, then download the frame back out (as PNG, to preserve transparency)
The strength setting is a genuine judgment call, and it's the one place in this pipeline where taste enters:
Judge the edge against your destination background, not against Canva's white canvas. Drop a rectangle of your final background color behind the frame while you tune. An edge that looks perfect on white can reveal a residual dark fringe on a bright yellow ad background — and vice versa.
Do you need to smooth every frame? Often not. Frames where the subject moves slowly have nearly identical edges — smooth one, and its neighbors usually look fine with the same treatment. The frames that need individual attention are the fast-motion ones, where AI models produce their roughest boundaries. A practical rhythm: smooth the first frame, apply the same strength to all, then step through the preview (Step 5) and touch up only the frames that visibly misbehave.
Step 5 — Reassemble and Preview Frame by Frame
Time to turn frames back into motion.
In Canva, create a new design at your target dimensions (1080×1080 for Instagram feed, 1080×1920 for Stories/Reels, 1920×1080 for decks and web). Then:
1. Upload your final cleaned frames (if they aren't already in this design)
2. Use Canva's Video workflow: place each frame on its own page, in order — this is where zero-padded filenames pay off, because Canva sorts uploads alphabetically
3. Set each page's duration to 0.1 seconds — that's 10fps playback, which reads as smooth for most subject motion. If your source was 24fps and motion feels choppy, drop toward 0.07s; if you exported at 12fps, 0.1s is close to native
4. Press play and watch it loop a few times at full speed
Then do the pass most people skip: step through frame by frame looking for three specific defects —
The frame-by-frame pass takes three minutes and is the difference between "looks clean" and "is clean." Motion hides single-frame flaws at full speed but your viewers' eyes still register them as something being off — the subliminal jank that separates polished from almost-polished.
Step 6 — A Real Walkthrough: Client Logo Animation, End to End
Here's the entire pipeline on a realistic job, decisions included — modeled on Sarah, a freelance designer cleaning up a Runway-generated logo animation whose text edges came out jagged.
The job: client's logo animates in over 2.5 seconds. Runway output looks great in motion, but on the client's white website the edges are visibly stepped and there's a grey halo around the wordmark. Deliverable: clean MP4 for web, by tomorrow.
Her run, start to finish:
1. Export (3 min). Runway → Export → PNG Sequence at 12fps: 30 frames, auto-named frame_001.png through frame_030.png. Quick check of frames 1, 15, 30 — logo fully visible in each.
2. Spot-check the cut (4 min). Uploads frames 1, 15, and 30 to Remove.bg. The wordmark cuts cleanly — text on a soft grey background is an easy segmentation. Green light for the rest.
3. Strip all backgrounds (14 min). Processes the remaining 27 frames on the free tier, downloading each into cleaned/, keeping filenames. (Her note-to-self afterwards: two of these jobs a month justifies Bulk Edit.)
4. Calibrate Smooth (5 min). Frame 1 into Canva over a white rectangle — the client site's background. Smooth at 50%: staircase still faintly visible on the "S" curves. 70%: edges relax, text corners still crisp. 70% it is. Applies 70% to all frames, re-downloads as PNGs.
5. Reassemble and inspect (5 min). 30 pages in a 1920×1080 Canva design, 0.1s each. Full-speed loop: smooth. Frame-by-frame: frame 22 — fast motion — has a rougher edge; she bumps that single frame's Smooth to 80%. Loop seam: last frame ≈ first frame, no pop.
6. Export (1 min). Share → Download → MP4. Background: the animation sits on a white page, so she skips transparency entirely and exports on a matching white — sidestepping the Pro-feature question because the destination made it unnecessary (more on this in Step 7).
Total: ~32 minutes. The client's one-line reply: "This looks so much better — what did you change?" That question is the entire value of this technique: nothing about the animation changed. Only the edges did — and edges are what people read as quality.
Sarah's two takeaways transfer to any job: the destination background (white website) drove every quality decision from Step 4 onward, and the spot-check in move 2 was what made her confident spending 14 minutes on background removal — she knew it would work before she started.
Step 7 — Export Right for the Destination
The last decisions happen at export, and they're where an hour of good cleanup gets accidentally squandered. Work through three questions:
Question 1: Does the destination need true transparency? True transparent video (the animation floating over whatever's behind it) is needed less often than people assume — mainly for overlays in video editors and layered web builds. In Canva, transparent video export is a Pro feature: Share → Download → MP4, then tick "Transparent background."
Question 2: Can you fake it with a matched background? If your animation will sit on a known solid color — a white site, a dark deck, a brand-colored ad — you don't need transparency at all. Add a background rectangle in that exact color (get the hex code from the brand palette) behind all frames and export a normal MP4. It's free, universally compatible, and pixel-identical to true transparency as long as the destination color doesn't change. This is what Sarah did, and it's the right call for most social and web uses.
Question 3: What format does the platform actually want?
And whatever you export: keep the cleaned PNG sequence. It's the lossless master of all your cleanup work. Exports are disposable renders; the sequence is the asset.
Common Mistakes to Avoid
Three patterns cause almost all the pain in this workflow.
Mistake #1: Starting from MP4. Exporting MP4 first and trying to clean it afterwards means fighting compression smear on top of AI artifacts, with no alpha channel to store your work. PNG sequence first, always. If you only have an MP4, extract frames from it as a salvage move — but change your export habit for next time.
Mistake #2: Over-smoothing. The Smooth effect feels like it's fixing things, so people push it to 90% and quietly destroy their subject — soft text, mushy details, an out-of-focus look. Start at 50%, judge against the real destination background, and remember the target is clean edges, not blurred everything. If someone squints at your subject, you've gone too far.
Mistake #3: Sloppy frame hygiene. Unpadded filenames that shuffle frame order, cleaned frames mixed into the same folder as originals, a missing frame nobody notices until the animation stutters. The fix is boring and total: zero-padded names from Step 2, separate original/ and cleaned/ folders, and a frame-count check before reassembly. Frame hygiene is 30 seconds of discipline that prevents the workflow's most confusing bugs.
Going Further
Automate the batch steps. Once the manual pipeline feels routine, the repetitive middle (background removal, resizing) can be scripted — Photoshop Actions handle PNG batch processing, and Remove.bg has an API that takes frames programmatically. The judgment steps (Smooth strength, frame-by-frame inspection) stay human; the conveyor-belt steps don't have to.
Try it on characters and text animations. Logos are the easiest case — solid shapes, clear boundaries. AI-generated characters (hair, clothing edges) and animated text (thin strokes) are harder cuts that will sharpen your eye for where segmentation struggles and how much Smooth each situation tolerates.
Fix the problem at the source. The deepest lesson of this workflow: prompt your next animation with cleanup in mind. A flat, contrasting background in the prompt gives you easy masks; high-contrast subjects survive segmentation better; simpler silhouettes need less smoothing. Generation and cleanup are one pipeline — designing the first half around the second is how 30 minutes becomes 15.
Turn it into a service line. If you freelance: "AI animation cleanup" is a real, sellable deliverable — clients increasingly arrive with AI-generated animations that are 90% good, and the last 10% is exactly this workflow. Sarah's before/after pairs are the portfolio; this pipeline is the fulfillment.
Key Takeaways
Here's what you learned in this guide:
frame_001.png sorting is what keeps reassembly in order — the most boring rule in the workflow and the most painful to violate.Your challenge, restated for the road: generate a 5-second test clip (Pika Labs' free tier works), run it through this pipeline today, and post the before/after with #AICleanEdges. The first time someone asks "wait, how did you get AI output to look like that?" — that's the moment this stops being a tutorial and becomes part of your toolkit.